

So what effect does Diastatic Malted Barley Flour have on bread? This question has many answers and details, but to keep it brief the functions are listed below:
- provides adequate food for lactobacillus bacteria
- provides sufficient lactic and acetic acid and CO2 among other desirable fermentation by-products
- makes or improves your bread's flavour and imparts more complexity
- produces a moister bread crumb (maltose sugars in sufficient quantity affect the amount of water liberated into the dough during fermentation and into the crumb during baking)
- improves the keeping qualities of bread
- improves aroma (this is the case due to increased fermentation but also by using special techniques to increase maltose production by blending various flours, or low temperature gelatinisation of a portion of the flour/grain then allow conditions for amylase enzymes to rapidly produce maltose. This will generate more flavour and aroma complexity in the bread)
- improves bread volume (increases gas production as lactobacillus bacteria has sufficient food)
- affects the crust colour (maltose being a sugar will readily caramelise during baking)
Of course non-Diastatic Malt can influence some of the same things but since the enzymes are inactive it really only provides a one-off limited addition of maltose. This gives limited benefits to bread.
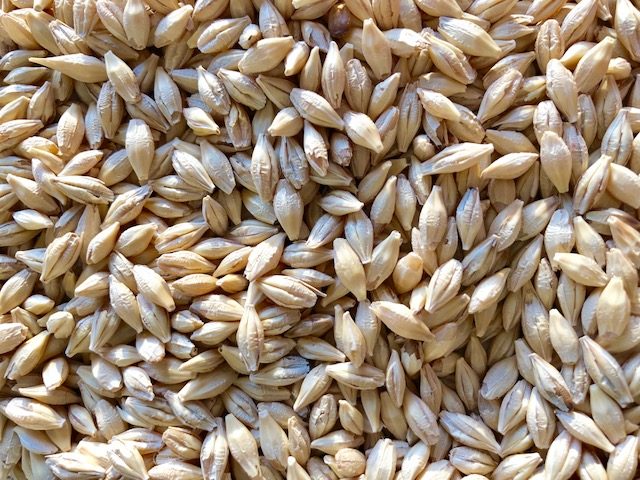
Barley Grain (un-hulled)
Diastatic Malt is used to help convert the starch found in flour to sugars that are useable by the yeast over an extended ferment. It is used by many Artisan Bakers in Europe, US, and Australia on a regular basis. Diastatic Malt powder contains sugar breaking active enzymes (mainly amylase) whereas non-Diastatic Malt powder has no enzymes.
Diastatic Malt is a completely natural product made from sprouted Barley or Wheat, dried and ground. You only need very small quantities of Diastatic Malt, about 5g or 1 tsp (or 1% of flour weight) per loaf of bread to get good results. There is also something like too much Diastatic Malt which can result in a reddish instead of a golden crust, weak dough and a rubbery crumb. Adding Diastatic Malt to your final dough can improve volume, flavour, colour, and texture. As a rule, most whole wheat flour and organic flour does not have Diastatic Malt added and your bread will improve when you add your own.
Diastatic Malt is a grain which has been sprouted, dried, and ground into a powder. By sprouting the grain (often barley or wheat), letting the grain grow into a small sprout, you activate the enzymes inside the grain. These active enzymes (diastase) release sugars from the flour / starch which help to grow your yeast. It also promotes a nice golden crust, a good rise, and improves oven spring.
Sprouting is a way to make whole unmilled grains edible and usable in a loaf of bread. You partly germinate the grains then the enzymes in the grain change the starch in the grain into sugars on which the small plant can grow. It is very easy to sprout grains and sprouts give more texture to your bread and a light sweetness. Sprouts are a small super food vegetable power house, they are packed with minerals and vitamins that are also easy to digest.
You can sprout many different types of grains like wheat, rye, spelt, einkorn, barley, amaranth, and quinoa. Sprouts are added to your dough by hand after the kneading process. The sprouts are fragile and will break when added too soon.
You can sprout grains yourself. Follow the steps below. I use organic barley grains for making the Diastatic Malt which I buy from a local natural foods store. I use plain, whole (not broken or crushed) grains. You can also use organic whole wheat too.
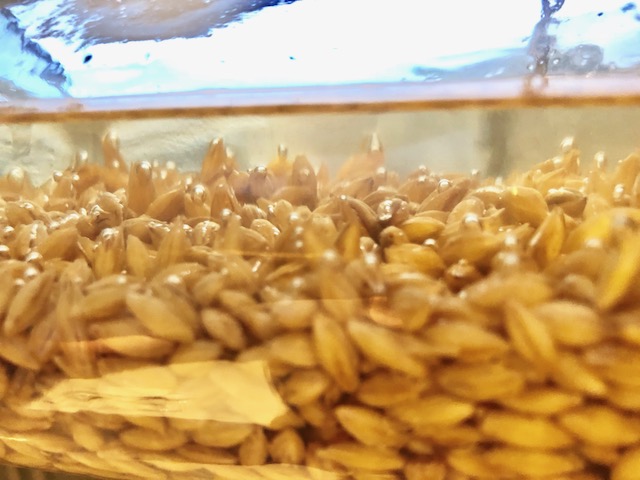
Soaking the Barley
Step 1 : The process of sprouting is very easy. First soak the grains for 6 to 10 hours in a clean glass jar. Soak the grains at 23:00 in the evening and drain them at 08:00 in the morning. Preferably use organic good quality grains, they give the best sprouting chance. Use a large enough jar so the sprouts can swirl freely. The grains will absorb a lot of water and will expand and double in size, so be sure your jar is big enough. I would recommend filling the jar by a quarter with the grains and fill it almost to the top with water. The soaking activates the germination process within the grains. The grains need water and air to germinate. After soaking, drain off the water and aerate the grains by stirring the grains in a sieve. Do not touch them with your fingers to prevent any grain contamination. Put them back in the glass jar and cover with a cheesecloth and elastic band at room temperature and away from direct sunlight. You only need to soak the grains once, for the next stage you will wash, drain and aerate them. Rather than throw the water away use it to water plants as it's full of nutrients.
Step 2 : The grains need water and air to sprout so you now need to wash, drain and aerate the grains twice a day; once in the morning and once in the evening. After washing, draining, and aerating put the grains back in the glass jar and cover with a cheesecloth. Be careful not to damage the small white shoots coming out of the grains. Wash the grains by swirling them with fresh water in the jar and then drain the grains / sprouts by putting the jar upside down using a cheesecloth or a screening mesh (with a thick elastic band keeping it in place) on top of the jar as a sieve. The total sprouting process takes between 2 to 4 days, a warmer environment is faster and cooler is slower. You learn by experience and keeping a close eye on your grains.
Step 3 : When your shoots are the same size as the grains (a few millimetres) the sprouts are ready to be used in your bread dough. As a rule, we start soaking the grains at 23:00 on day 1 and we use the sprouts in our dough in the morning on day 3.
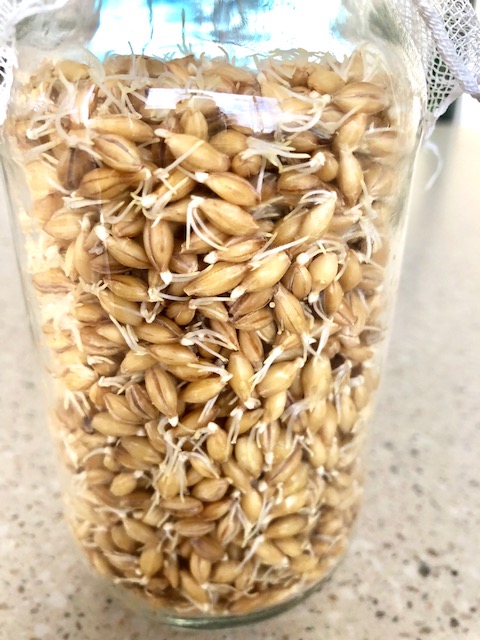
Sprouting Barley
Step 4 : Before you can mill the grains they have to be dried. You have to do this at a low temperature or the enzymes will not survive. The enzymes will become damaged and die and lose all activity at about 55 ºC or 130 ºF, so to be on the safe side do not let them get above 40 ºC or 104 ºF. To dry the sprouts, spread them out on a baking sheet lined with grease proof baking paper in a surface with direct sunlight. Turn them with a spoon every 6 hours so the bottom grains are on top and everything gets evenly dried. If you have an oven which can be set to 40 ºC or 104 ºF you can also put the baking sheet in your preheated oven for 3 to 4 hours. The grains are ready when they are dried completely and have turned rock solid again. Drying at room temperature can take up to two days or even more. Just be patient.

Sprouted Barley
Step 5 : When the grains have dried it is time to grind them into a fine powder. I use a blender you can also use a home coffee grinder or similar or a grinder with small stones especially made for flour. You can also pound them into a fine powder with a big pestle and mortar. Store the freshly ground flour in an air tight container in a cool place. I advise you to use it within a year ( mark the date on the container ). Alternatively I store mine in the freezer to retain the freshness of the flour; this can last indefinitely. As long as you bring it up to room temperature before using, this has no ill effects on the bake.
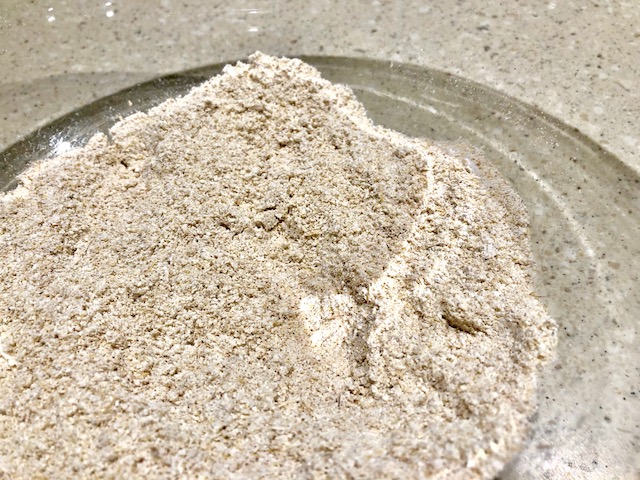
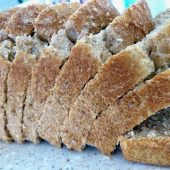
Diastatic Malted Barley Flour
Add the right amount of Diastatic Malt to your bread formula. Normally Diastatic Malt is applied at 0.1% of flour weight. That is 1 gram per 1kg flour.
BioSilQ Review
3rd July 2018 at 9:18 am
Simply want to say your article is as surprising.
The clearness in your post is just cool and i could assume you are an expert on this subject.
Fine with your permission let me to grab your RSS feed to keep
up to date with forthcoming post. Thanks a million and
please keep up the enjoyable work. http://ttlink.com/ellisricke/all